Tiling a backsplash is a fairly simple task. This article can be applied when tiling a backsplash in a kitchen, bathroom, laundry or in any other room.
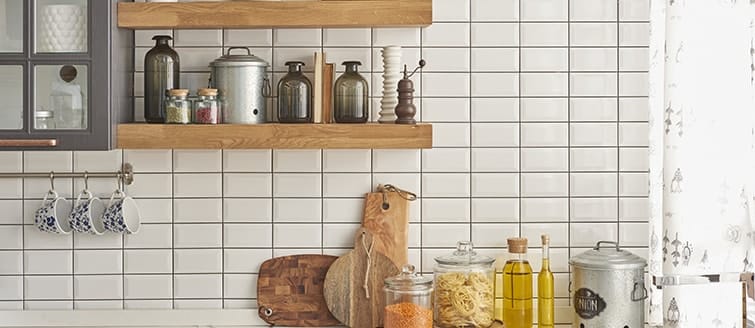
Give thought when selecting the right tile for your backsplash. What colour will coordinate well with the benches and cupboards? As backsplash areas often get messy, is the tile easy to clean? If the backsplash is in a kitchen where grease splatter may occur, as grout is porous, is it best to use a larger tile to ensure less grout lines?
Step 1 – Preparing The Surface
The first step of tiling a backsplash is to prepare the surface being tiled. Make sure it is clean and dry. Scrape off any debris, then wipe thoroughly with a damp sponge, focusing on plaster joints and then allow the area to dry.
Step 2 – Starting Point
Find the centre point of the specified backsplash area. Do this by measuring from one side to the other, halving this figure and making a mark. Using a spirit level, mark a plumb line up the wall from this centre mark. Place a full tile on the bench against the backsplash area, making a mark at the top of the tile. Use a spirit level to mark a level, horizontal line at this height.
Step 3 – Lay Out Tiles
Using your tiles, place them on the bench below to see how they will be laid out. If any of the cuts at the edges are too small, you may wish to slightly alter your starting point. Do the same thing if you are tiling up to any overhead cabinets or objects. If you are happy with this layout, it is time to begin tiling your backsplash.
Step 4 – Start Tiling
Mix up the wall tile adhesive according to the manufacturer’s instructions. Using a 6mm notched trowel, spread the adhesive onto the back of the tile ensuring that there is full coverage and that adhesive lines run horizontally for more effectiveness. Begin tiling at the centre plumb line, push the tile firmly onto the wall to achieve good adhesion. Tile wedges and/or spacers should be used to make sure that the first row of tiles match the level line you have drawn. Continue row by row up the wall until the desired height is reached. Use a spirit level to ensure each row is level and plumb.
Step 5 – Remove Excess Adhesive
By using a clean bucket of water and sponge, gently wipe the tiles and joints as needed to remove any excess adhesive.
Step 6 – Clean Surface
Once you have allowed sufficient time for the backsplash tiles to dry, mix up your chosen grout according to the manufacturer’s instructions. Using a grouting float, spread the grout evenly across the backsplash, filling the joints level with the tile. When the grout is beginning to visibly dry (approximately 5 – 10 minutes), take a clean, damp sponge and wipe over the backsplash to remove the excess grout. Light, circular motions achieve the best results and help to avoid wiping out the grout from the joints.
Step 7 – Cleaning And Applying A Silicone Sealant
Allow 24 hours for the grout to dry. Clean the backsplash by wiping it with a damp, clean cloth. Apply a kitchen and bathroom silicone sealant in a colour matching the grout to any internal joints or joints between your backsplash and another surface (eg benchtop, cupboard, architrave).
